 Having a larger stereo in your car means more power being needed to run it. Thus, you would need to have a second battery installed. In order to do this, a smart battery isolator is needed. The steps in mounting a TRUE smart isolator are discussed in this article.
- 1. Place the second battery on the battery tray located in line with the driver’s side of the car. Secure this new battery using a 3/8-inch ratchet and socket.
- 2. Install the TRUE smart battery isolator on the fender well using a drilling machine. Self-tap the screws and the bracket of the isolator.
- 3. Let a 4-gauge battery cable run from the first battery’s positive terminal to the right-hand side terminal of the TRUE smart battery isolator. Both ends of the wire should be stripped by half an inch with the use of a terminal crimper. A 3/8-inch ratchet and socket is used to connect the positive terminal of the first battery to that of the smart battery isolator.
READ THE TESTIMONIALS CLICK HERE!!!
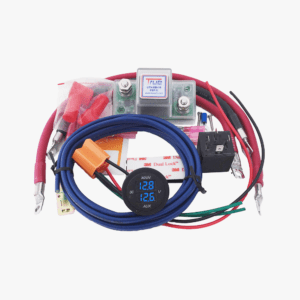
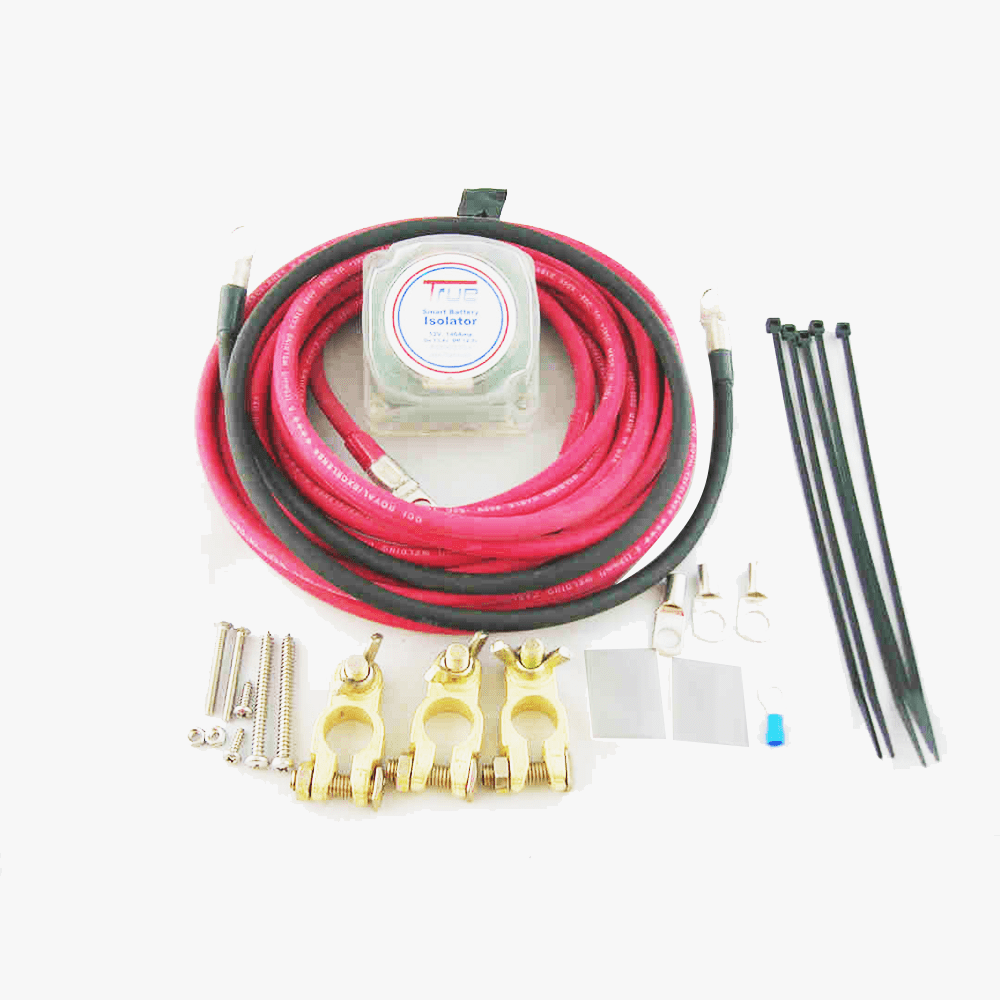
KIT INCLUDES
-
- 1 140 Amp Voltage Sensitive Relay
- 1 19’ 8” length of battery cable
- 1 Ground Cable
- 2 Positive brass marine type battery terminals
- 1 Negative brass marine type battery terminal
- Tinned copper lugs, heat shrink & Cable Ties
- Easy to follow instructions for Dual Battery Wiring Diagram
- 4. Let another 4-gauge battery cable run from the second battery’s positive terminal to the left-hand side terminal of the TRUE smart battery isolat or. Again, both ends of the wire should be stripped by half an inch with the use of a terminal crimper. A 3/8-inch ratchet and socket is used to connect the positive terminal of the second battery to that of the TRUE smart battery isolator
- 5. Connect the attached black ground wire of the isolator to a common ground on the metal frame or firewall. If need be you can extend the ground wire with a butt splice and attach it directly to one of the battery’s negative terminals.
- 6. Lastly, connect the negative terminal of the second battery to the frame’s ground point using a 4-gauge wire. Fasten on both ends.
The second battery, the one you just installed, will be charged only when the alternator has charged the first battery to a level where there is 13.3 volts available at the isolator. Installing a second battery and a battery isolator is quite easily done even without supervision. This manual on HOW TO WIRE and INSTALL A BATTERY ISOLATOR makes the process easier.
SEE CUSTOMER VIDEO HERE
tags: how to install a dual battery system in a vehicle, dual battery setup boat


[…] Having additional electronics in your car or boat means more power being needed to run it. Thus, you would need to have a second battery installed. In order to do this, a smart battery isolator is needed. […]
[…] connect or isolate the batteries. Tags: battery isolation system Categorised in: Maintenance Tips. How to install battery isolator for vehicle and boat : December 17, 2013 12:33 am Having a larger stereo in your car means more power being needed to […]
Great help!! Cut and dry! Isolator works great! Thank you for the info.