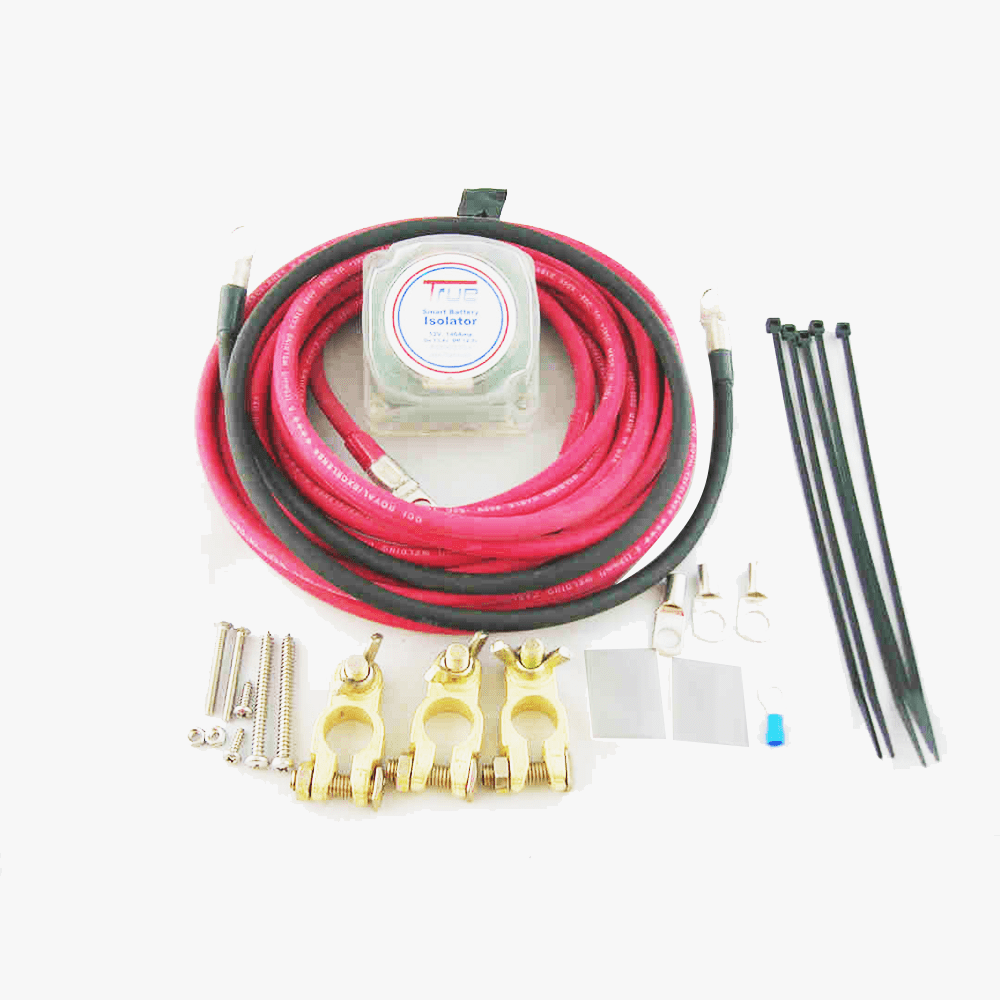
The isolator from www.dfna.info is the simplest of all isolators to install. The “dual sensing” feature of this battery isolator makes it impossible to install backwards. Wiring is accomplished by:

- Connect a cable from the positive terminal of the primary battery by removing one of the nuts of the threaded studs on the back of the isolator. Apply cable, replace nut and tighten securely.
- Then connect a second cable from the isolator’s remaining threaded stud to the positive terminal of the second battery.
- The isolator’s black ground lead must then be connected to a common ground shared by all batteries. This can be a frame ground or can be connected directly to the batteries. NOTE: All batteries and the isolator must share a common ground or nothing will function. Wiring dual battery isolator is provided by Dfna.info
The isolators provided on dfna.info are voltage sensitive relays with smart technology that makes them simple in application but provide more efficient operation through elimination of the large diodes in other isolators. These diodes rob large amounts of important charging voltage, produce a large amount of heat and eventually burn out because of it. If you need information on application of other types of isolators you can find it by searching online for dual battery isolator wiring diagram.


[…] […]
[…] How to wire the Dual Battery Isolator – : December 21, 2013 3:50 am The isolator from http://www.dfna.info is the simplest of all isolators to install. […]
[…] How to wire the Dual Battery Isolator – : December 21, 2013 3:50 am The isolator from http://www.dfna.info is the simplest of all isolators to install. […]
[…] you are baffled you can check out at http://www.dfna.info for more detailed guides on how to install Smart battery isolator and look for more other devices […]